
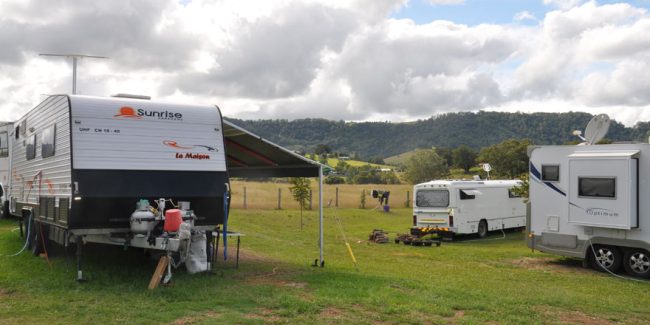
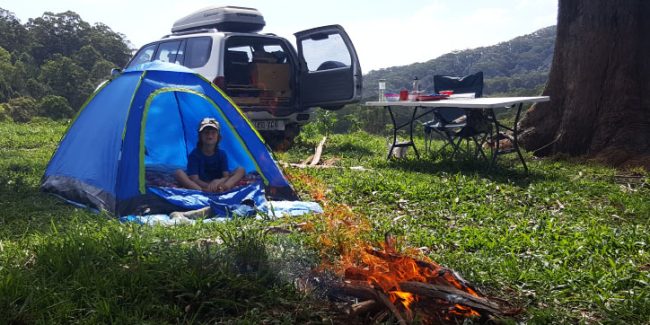
In this article from Set to Camp, we take a closer look at some camping fridge tips for your next camping adventure.
Keeping your camp food cold is important, as is making good use of your limited fridge space. Here are our tips for managing your camp fridge.
Food hygiene and safety at the campsite
First and foremost, good hygiene practices are essential in the camp kitchen but they can easily be overlooked when you are working in an unfamiliar environment and light on for kitchen equipment, bench space, and water. Here are some tips in relation to your icebox/fridge to keep your food fresh and to help avoid cross-contamination.
– The fridge temperature should be at or below 4° C / 40° F.
– Monitor the fridge temperature. Purchase a fridge thermometer in the absence of a built-in gauge. Or, alternatively, you could source a meat thermometer that can accurately measure low temperatures. It will also have other uses around the campsite.
– Separate raw meats from other food. Store in plastic sealable containers or in quality snap lock bags. Place in a plastic container bagged foods to prevent leakage contaminating the rest of the fridge.
– If using an icebox:
– Place a large plastic container at the bottom of the icebox/esky to act as a barrier between food items and the melting ice water.
– Store ice in its bag to reduce the amount of loose ice collecting on the bottom of the esky.
– Strategically place ice and frozen items so that they provide even cooling throughout the esky.
Keeping your camp food cold
Smart management of your icebox/fridge WILL really help minimise power usage, keep your food at the right temperature, and keep the rate of ice melt in iceboxes down.
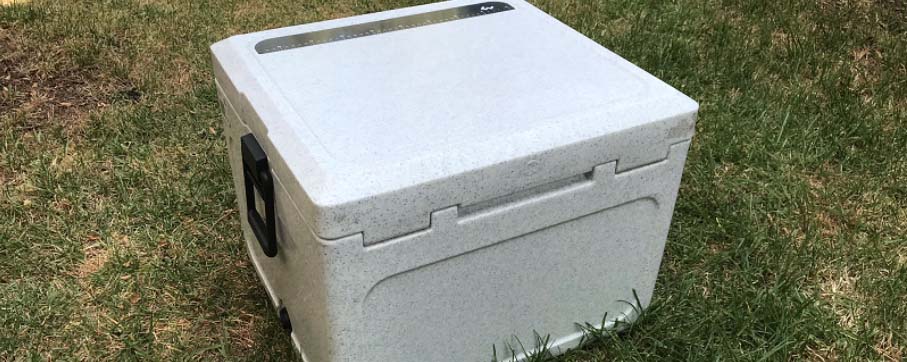
Tips for using an icebox
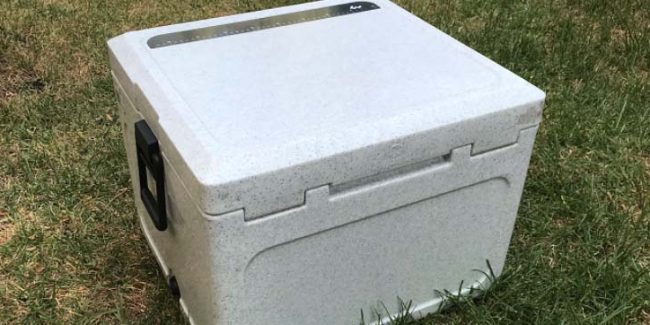
– Firstly, invest in a good quality icebox and check the online review before you buy it.
– Don’t completely drain chilled water from the esky – leave a few inches to help slow down the rate of ice melt and keep your food colder.
– Use ice blocks in preference to crushed ice. Ice blocks are more difficult to buy on the road but they melt at a slower rate. Freeze blocks in plastic containers before you leave home and on the road, if you can get them, buy blocks of ice rather than crushed ice.
– Add salt to the water prior to freezing to reduce the temperature of the ice even further and to extend the life of the ice.
General tips for iceboxes and fridges
– Chill down fridges and iceboxes before you leave for at least 12 hours. Chill iceboxes with frozen blocks from the freezer.
– Drink frozen water bottles from home. Add salt as above to reduce the ice temperature and extend its life, and when filling containers and bottles to freeze, leave some space to allow for expansion.
– Take frozen food and drinks from home, such as orange juice, cordial, meat, and prepared meals.
– On the road buy already chilled drinks.
– Keep the refrigerator full to reduce the amount of air that needs to cool down. It may seem counter-intuitive, but gaps need to be kept cool and should be filled with items such as drinks and water bottles even if you don’t need them cooled. You can also use a snap lock bag or a cask wine bladder inflated to fill the available space.
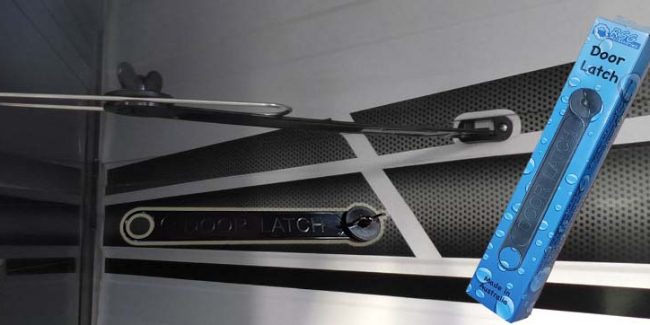
– Minimise the opening of lids and make sure it is properly closed. Refastening the catches will help but if that’s annoying to do regularly, place something heavy on top.
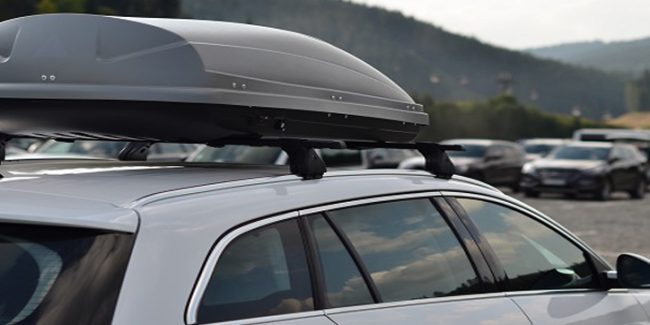
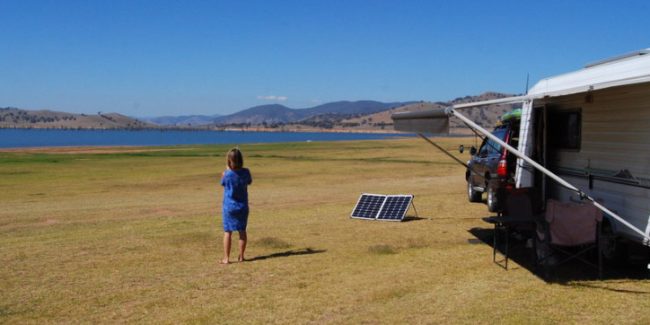
– Place your icebox/fridge in a shaded position away from direct sunlight, especially from midday to later in the afternoon.
– Keep your icebox/fridge in an open area and not enclosed in a hot tent, annex, or car.
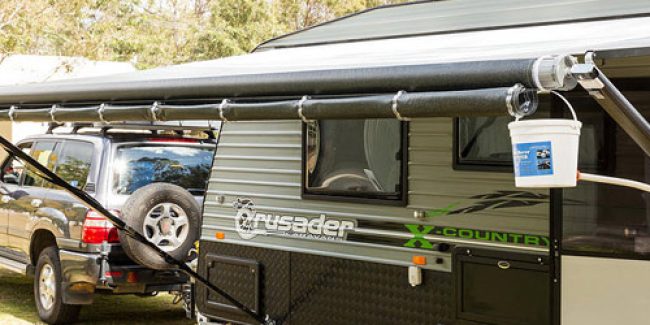
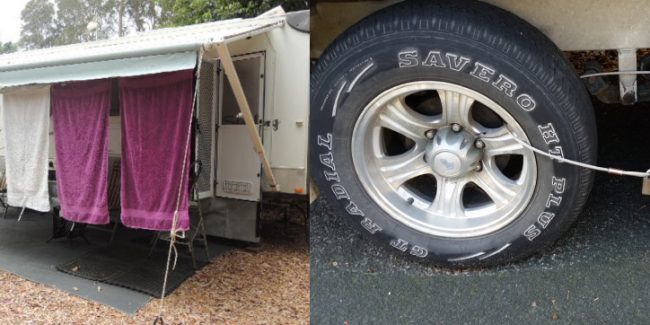
– Cover with a wet towel to promote evaporative cooling.
Camp fridge space saving tips
As mentioned earlier, iceboxes/fridges function most efficiently when full and when they have a minimal amount of internal air needing to be cooled. But what can you do when your fridge is overflowing? Here are some suggestions:
– Use a separate cooler bag to extend your cool storage space. Most fruit and vegetables benefit from cool storage but most also don’t really need to be in the icebox/fridge at below 4° C / 40° F where space is at a premium.
– Get a good quality, thick and watertight cooler bag – preferably hard shell
– Place your fruit and vegetables in the cooler bag. It is generally advisable to separate the fruit from vegetables using a shopping bag to prevent the ethylene gas from the fruits from ripening the vegetables.
– If you have access to ice, fill a sealable plastic container with ice and place over the top of the fruit and vegetables.
– Keep the bag well sealed and full to improve the efficiency of the bag and to reduce the amount of air needing to be cooled.
– In warmer weather, place a wet towel over the top of the bag to help lower the temperature through evaporative cooling.
– Keep the bag in an open well ventilated area.
– Don’t buy perishable food in bulk for the whole trip. It should be enough for 2-3 days unless you are in a remote area and supermarkets are in short supply. Your food then remains fresh, it’s easier to manage in your limited kitchen and you can amend your menu as you go depending on the weather and the unexpected.
– Consider vegetables that don’t specifically require refrigeration for your meals. Examples are cucumbers, eggplant, potatoes, onions, pumpkin, sweet potatoes, tomatoes, and okra. These vegetables should still be stored in a cool, dry place.
– Avoid unnecessary food items and snacks that require refrigeration. Examples are chocolates, refrigerated sweets, and items that require refrigeration once opened. Instead, choose alternatives that can sit at room temperature.
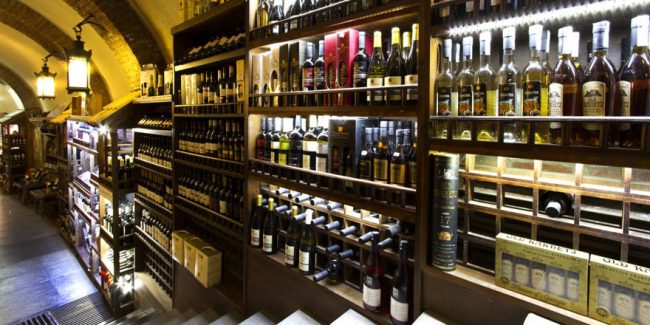
– Give preference to drinks and refreshments that don’t require refrigeration, such as drinking red wine over white wine.
– Don’t refrigerate items that can be safely stored at room temperature. Check the labels for storage instructions but, when in doubt, keep refrigerated.
– Eat any leftovers within 24 hours so they don’t languish in the fridge for days until … well, you know what I mean. Make it a habit of serving leftovers the next day – either for breakfast, lunch, or dinner.
– Choose drinks that have a more space-efficient shape. Cylindrical drink bottles or better still those with a more 3-d rectangular shape. An icebox or fridge will also hold a lot more aluminum beer cans than glass stubbies.
– Only store drinks that you plan to consume within 24 hours in the icebox/fridge.
– Often you only need a small amount of a condiment for your meals and not necessarily the whole jar/bottle. Decant the smaller amounts required into smaller containers for the period over which you will be away. You can also make up sauce and spice mixes for specific meals before you leave home. Then add fresh or perishable ingredients at the campsite. Liquids should always be stored in screw top containers and tightened securely, especially when packed for transport.
– Fill a spare stackable plastic container with ice. Use them as a separate drink tub to cool down drinks for a large gathering or event.
If you have any other good ideas for managing your fridge or icebox, please let us know.
Original article courtesy of Set to Camp. Set to Camp specialise on information for trailer free camping. For those that just want to camp with their tent or from their vehicle. For more information from Set to Camp, you can see our other feature stories, or head on over to their website: Set to Camp


Comments 0